Free cancellation up to 24 hours before the tour
Thai Costume Experience at Wat Arun & Canal Tour
Bangkok
Tripadvisor★5.0·59 reviews

Dress up in a traditional Thai costume at Wat Arun, take photos with your guide, and explore Thonburi’s historic canals by traditional longtail boat. Visit Baan Silapin and cruise past Wat Paknam for a glimpse of local life along Bangkok’s waterways.
Start your experience at Wat Arun by dressing up in a traditional Thai costume. Your guide will help you get ready and take you to some of the temple’s best photo spots, with the beautiful architecture of Wat Arun providing a memorable backdrop.
After your photo session, cross the Chao Phraya River by boat and enjoy views of Wat Arun’s distinctive porcelain-covered prang from the water as you make your way toward Thonburi.
Continue by traditional longtail boat through Bangkok’s historic canals. Visit Baan Silapin (The Artist’s House), a charming historic house and local art space along Khlong Bang Luang. Take some time to explore the area and see the traditional houses and canal-side community.
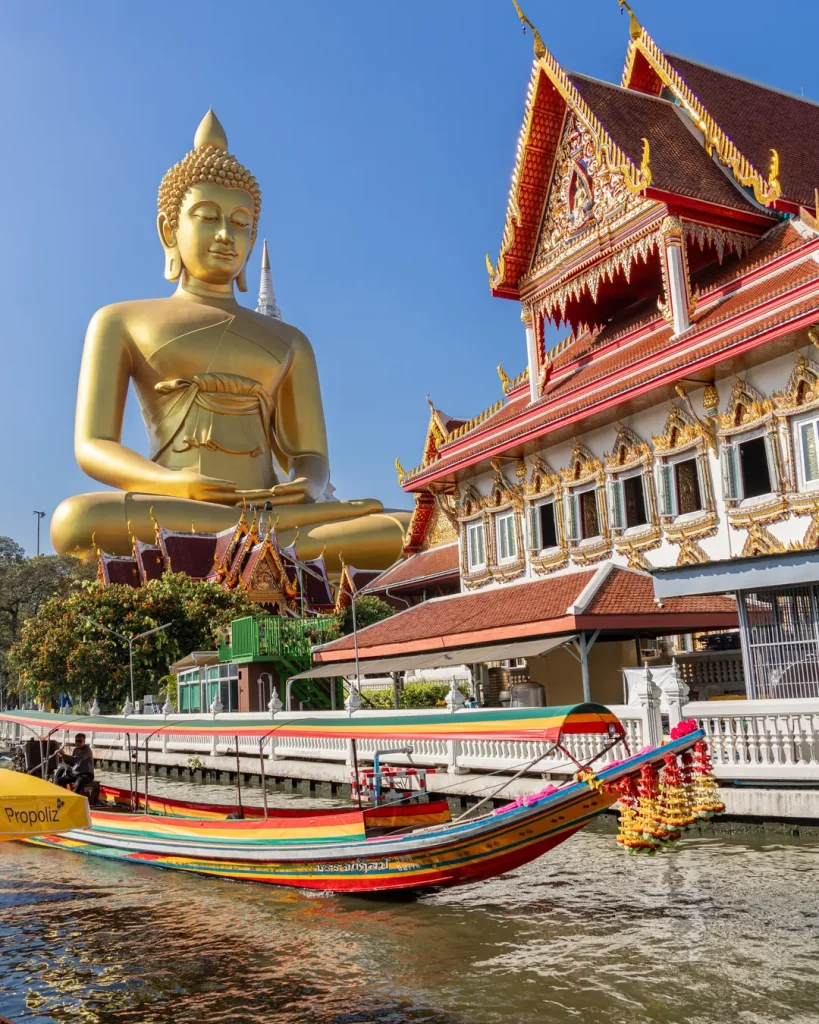
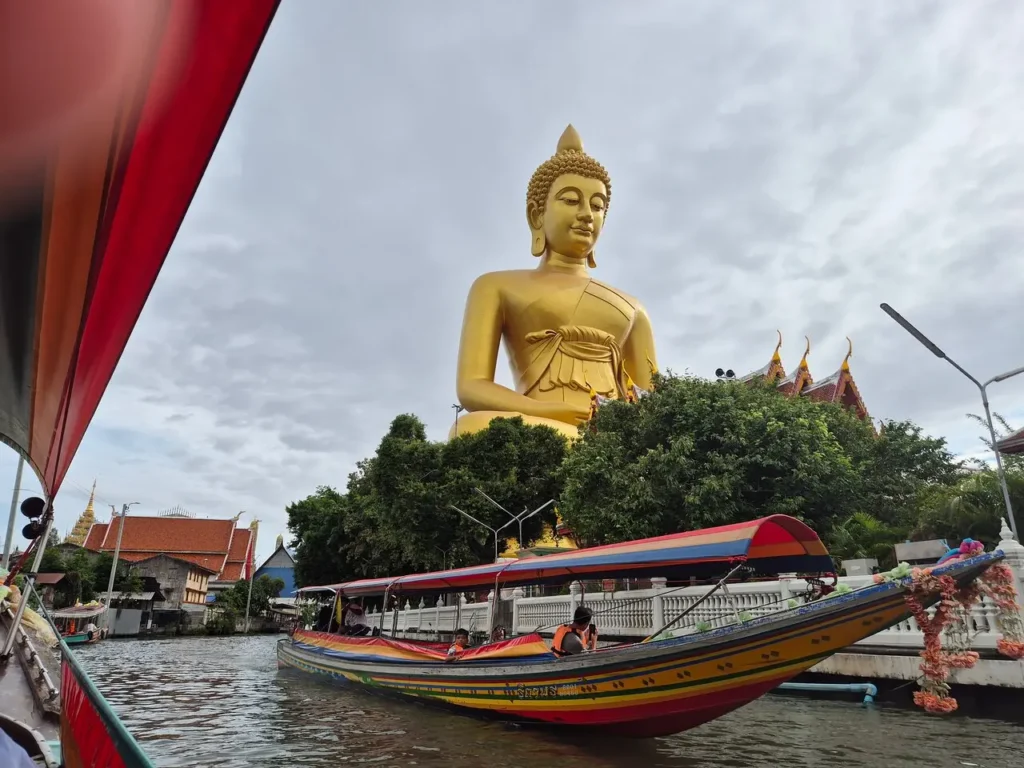
The boat then passes Wat Paknam Phasi Charoen, where you can see the impressive Giant Golden Buddha from the water and take photos. Continue cruising along Khlong Bang Luang and enjoy a quieter side of Bangkok, with traditional homes and local communities along the canal.
This experience combines Thai culture, photography, and a traditional canal journey, making it a relaxed way to experience Bangkok beyond its busy streets.
Your route
Dress up in a traditional Thai costume and explore the grounds of Wat Arun. Your guide will help you with the photo session and take you to scenic spots around the temple for memorable photos.
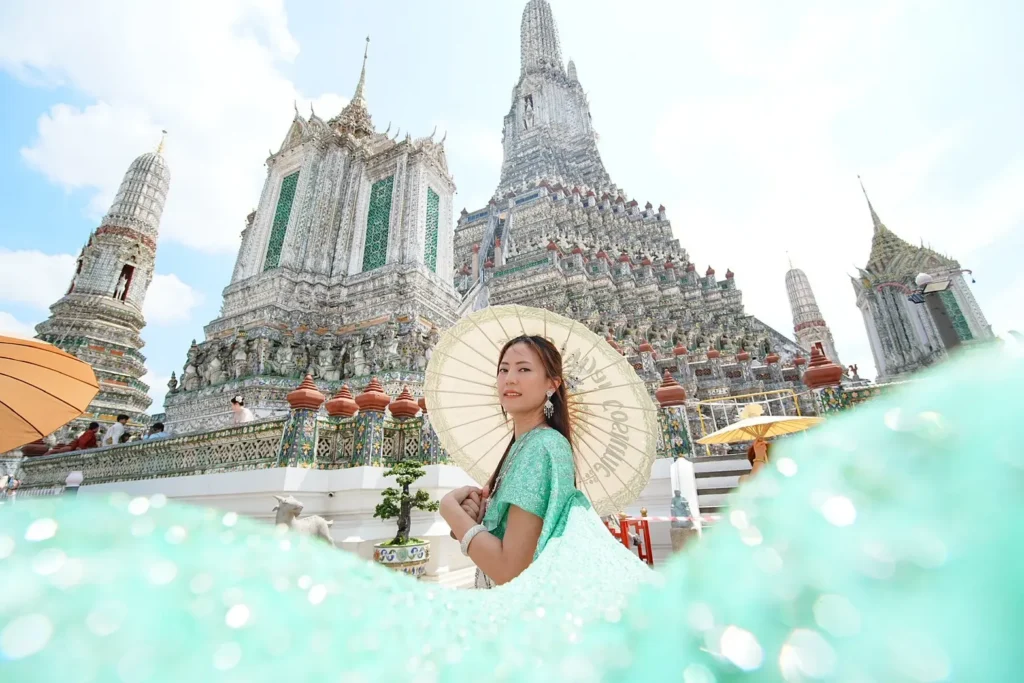
Cross the Chao Phraya River by boat toward Thonburi and enjoy views of Wat Arun’s iconic porcelain-covered prang from the water.
Note: The boat does not stop at Wat Arun during this crossing.
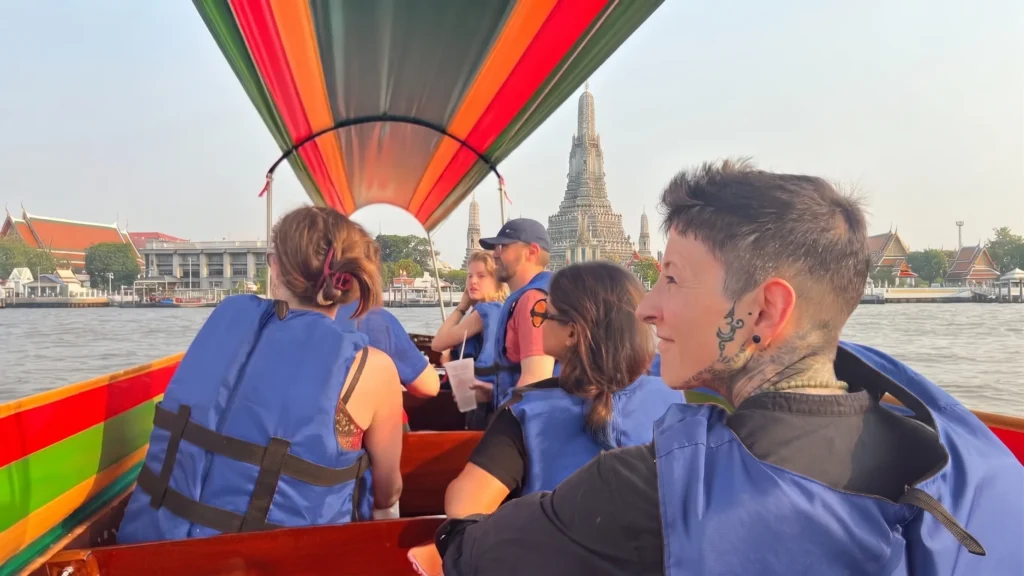
Visit Baan Silapin, a historic wooden house and local art space along Khlong Bang Luang. Explore the area and see traditional houses, local art, and the peaceful atmosphere of the canal-side community.

Cruise past Wat Paknam and view the impressive Giant Golden Buddha from the boat. This is a photo stop from the water only.
Note: There is no disembarkation at Wat Paknam.
Continue your longtail boat ride through Khlong Bang Luang and experience a quieter side of Bangkok. Pass traditional wooden houses and riverside communities while enjoying the scenery along the canal.
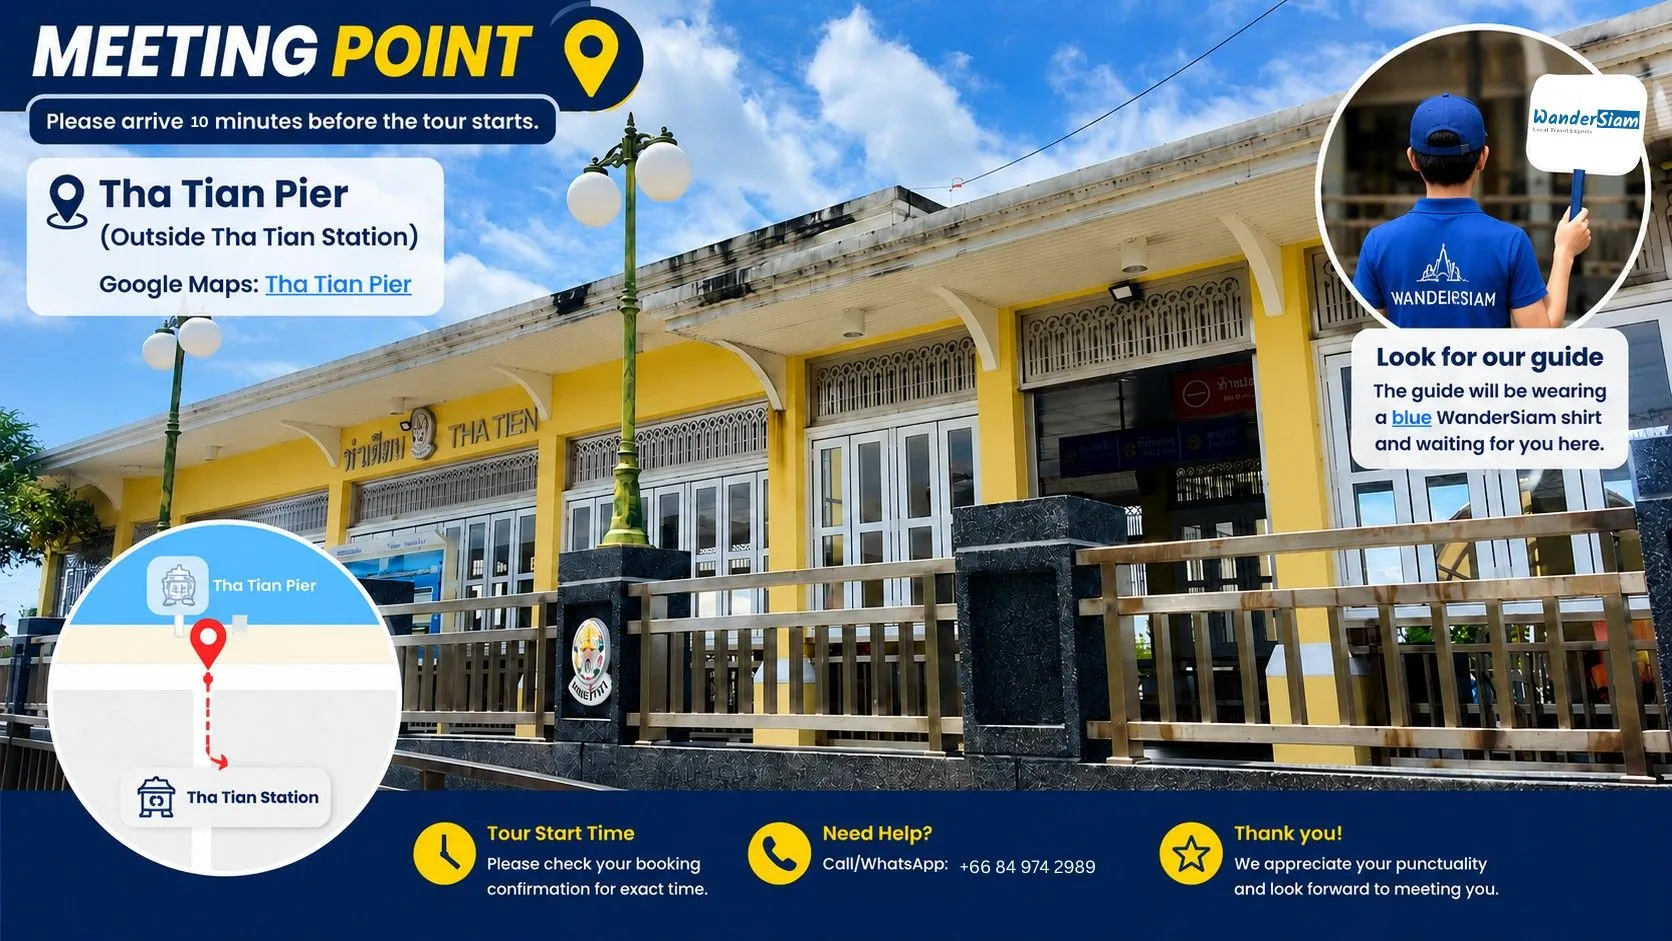
Meeting Point: Tha Tien Pier
Please meet your guide outside the main entrance of Tha Tien Pier, in front of the yellow building with the “THA TIEN” sign.
Your guide will be wearing a blue WanderSiam shirt and holding a WanderSiam sign, making them easy to identify.
Please arrive at the meeting point on time.
- A traditional Thai costume is provided for the photo session.
- Please wear comfortable clothing underneath the costume.
- Modest clothing is recommended when visiting Wat Arun.
- Shoulders and knees should be covered when entering temple areas.
- Comfortable shoes are recommended for walking around the temple.

We had an amazing time with our guide Peach. We learned a lot, found the best photo spots, and would definitely recommend the tour.
Originally published on Tripadvisor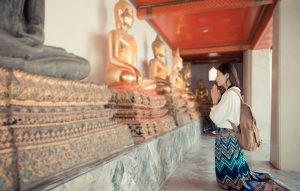
Excellent guide and beautiful sights. I’m glad I decided to give this tour a try and had a great day.
Originally published on Tripadvisor
Our guide was energetic, passionate, and extremely knowledgeable. It was a great way to see Bangkok’s important landmarks.
Originally published on Tripadvisor
Ken was a wealth of knowledge and welcomed every question. A friendly and memorable way to discover Bangkok.
Originally published on Tripadvisor
Ken was knowledgeable and lovely. He took the time to explain the places and made the experience enjoyable.
Originally published on Tripadvisor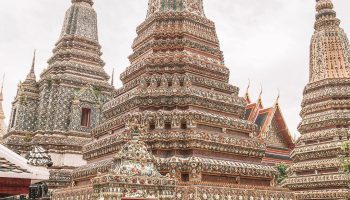
I had a fabulous time with Surin. The tour felt personal, welcoming, and full of local knowledge.
Originally published on Tripadvisor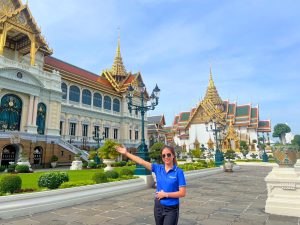
A very sunny and enjoyable day trip. The guide was helpful and kept the experience relaxed and fun.
Originally published on Tripadvisor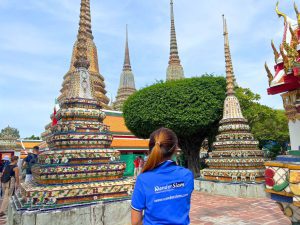
Ken was a great guide—patient, professional, and happy to answer questions throughout the tour.
Originally published on Tripadvisor
41 Comments
5
Our small theatre group needs a wig for a character who appears under both warm and cool lights. We have settled on the costume. Now the hair shade is the part we cannot agree on. A dark brown looks almost black in rehearsal photos. Our copper sample is equally difficult to judge. I was looking at hair color simulator as a way to sketch a few alternatives before we order actual samples. I would keep the same portrait for each comparison. The lighting would stay unchanged too. However, a screen preview cannot tell us how a wig will reflect the stage lights. Does anyone have a practical comparison routine? There is time for a test at rehearsal. I would rather compare three clear options than dozens of edits. The aim is to keep the character recognizable across scenes without choosing solely from a heavily edited photograph.
5
I have been asked to suggest test cases for the face outline step in a photo form. A tighter image border should be recorded separately from a different camera angle or facial pose. I would begin with a single authorized image and record the dimensions before making any copies. I would vary the border area while keeping the actual facial geometry unchanged in every copy. I am considering face shape detector as a reference while drafting the questions. The plan is still on paper, with no measured outcomes or confirmed behavior behind it. For each copy, I could note its border dimensions, category and any confidence information provided. Which observations would help distinguish a crop sensitivity issue from an unclear face boundary? My priority is a clear account of changed outputs, with room for genuinely uncertain classifications.
5
An adult education class is preparing a discussion about online face classification. The goal is to ask better questions about classifications without ranking anyone’s appearance. A topic reference I have saved for discussion is what is my face shape to introduce the subject. That inclusion would not imply that its results are accurate. Students could first write down which visible proportions they would expect a method to compare. A second discussion could examine the information missing from one photograph. The activity could use descriptions alone, so sharing a personal photograph would remain unnecessary. Each group could explain which evidence would change its initial interpretation. We could also compare two written descriptions of the same outline and ask whether their labels mean the same thing. This would make the assumptions available for discussion without requiring a supposedly correct personal result. How would you keep the conversation focused on evidence and uncertainty throughout the session?
5
My next beginner drawing session will introduce the outline of the head before individual features. The sample outlines do not always fit neatly into a single familiar face shape category. I would like these terms to help people describe what they see without forcing a category. I have bookmarked a face shape quiz as a possible discussion prompt. I would start by comparing the questions with the outline examples already included in the lesson. Students could describe forehead width, cheekbone width, and the jaw before trying any category names. For the opening exercise, I would use a straight view so perspective does not dominate discussion. An ambiguous example might show why careful observation matters more than choosing one perfect word. Does anyone have a classroom exercise that keeps these labels secondary to close observation?
5
While preparing a glossary for new illustrators, I ran into a disagreement about how to explain the basic face outline categories. Some entries offer only a category name, while others mix several visible features into paragraphs that are difficult to compare. A reference about determining face shape might help us decide which observations belong in each entry. My preference is a consistent sequence for each entry, beginning with overall proportions and then describing the lower face contour. That would let readers compare descriptions directly, rather than assume that a single distinctive feature settles the classification for every face. There should probably be a note about intermediate outlines so readers understand why some examples do not match one description exactly. The accompanying drawings could share a scale and a plain outline, keeping hairstyle details from obscuring the features being discussed. I do not want the glossary to rank shapes or suggest that an illustrator should change the features of a real subject. Which details are essential in a beginner glossary, and which would you move into a separate explanation with more examples?